How to Get Precise Colors: Exploring the Power of Lightroom
Thursday, March 30, 2023, 8:24 AM GMT-5
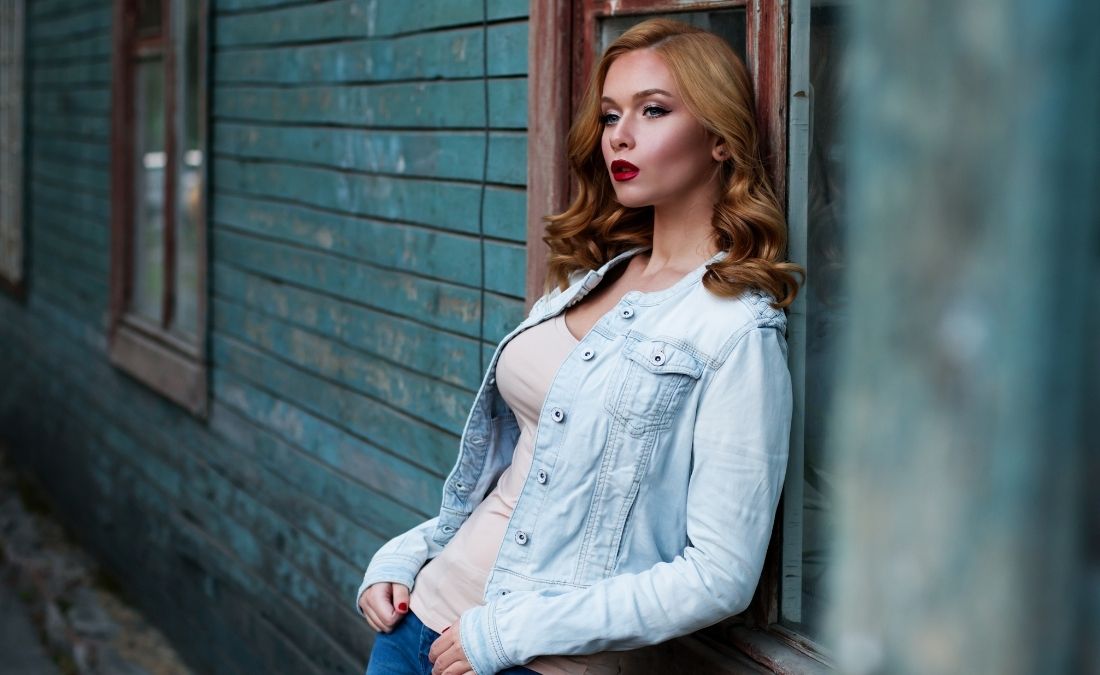
Every photographer has experienced the problem of incorrect color reproduction in the frame: the tones do not match the reality or the creative idea. How do you correct the colors in a photo you’ve already taken? Let’s look at some examples using Lightroom tools. It’s not as complicated as it might seem. If you are still not sure which photo editor to use, we recommend that you read more about the pros and cons of Photoshop vs. Lightroom on Skylym’s website.
Starting to Edit a Photo
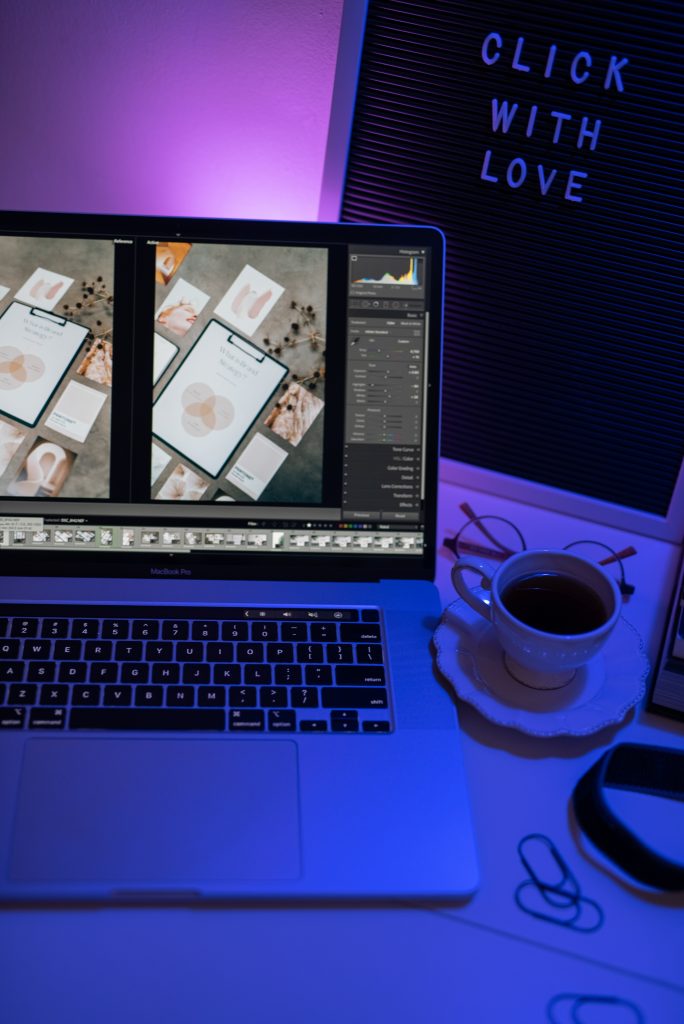
You start editing by converting your photos to the RAW file format, which contains all the data from the camera sensor. It is much more flexible than the standard JPEG format. Let’s take a closer look:
- At this point, you can correct color reproduction with no loss of quality, and brightness and contrast with minimal loss of quality. Of course, almost all of the techniques below will work with JPEG, but any manipulation will greatly affect the quality of the final image.
- When you shoot in JPEG, the conversion to this format takes place inside the camera after the image is captured. The camera’s processor is responsible for this: it applies the necessary corrections to the original image and saves the converted JPEG file on the memory card. So, shooting in JPEG, therefore, means that you have entrusted the basic processing to the camera.
For RAW processing, you need a RAW converter. The most popular ones are Adobe Lightroom and Adobe Camera RAW. Lightroom is a separate program, while ACR is a plug-in for Photoshop. When you open a RAW file in Photoshop, the Adobe Camera RAW window appears first, prompting you to convert the RAW to a common image file that the editor can work with. This is one of the most important aspects when discussing Photoshop vs. Lightroom topics.
We will discuss techniques for working with color, focusing on Lightroom as the most popular converter. However, its tools are almost identical to those of the ACR plugin. By the way, when working with RAW, you can always undo your corrections and go back to the original image, which is important for creative exploration.
Camera Profile
Every camera has its color reproduction. You need to select the appropriate profile to take into account the specifics of your camera. Otherwise, the program will use the Adobe Color profile by default, which may not be accurate because different cameras require different color rendering parameters. This is mandatory for Lightroom and ACR; other converters automatically select the camera profile.
Camera Calibration
If you scroll down to the bottom of the toolbar, you’ll see adjustments that increase saturation in each of the three channels by adjusting the hues. This is the easiest way to increase saturation in Adobe Lightroom and ACR. For example, in a portrait, you can increase the saturation in the green and blue channels and decrease the saturation in the red channel to make the skin look more natural.
With the saturation tools, as with others, it’s easy to overdo it, especially for inexperienced users. Your eyes will get used to the colors on the screen and they will no longer appear as saturated. So take a break from editing and look out the window more often, or at the images of photographers whose color work you like.

White Balance
An important step is to adjust the white balance during shooting to ensure good color reproduction right out of the camera. The advantage of the RAW format is that the white balance can be adjusted after the shooting and during processing.
When shooting in JPEG, the white balance is also adjusted immediately after the shot, not during the processing of the raw data. However, you will not be able to correct the white balance of such an image later. Let’s explore the white balance options in Adobe Lightroom:
- If you select Auto, the program analyzes the image and tries to adjust the white balance itself. It’s almost always pretty good.
- You can manually adjust the color temperature settings to adjust the hues in the photo based on your goals. The main thing is not to go overboard!
- It is possible to select the light in which the image was taken. Based on this information, the program will adjust the colors.
- In the same way, the white balance is adjusted on the camera. If the photo was taken on a sunny day, select the Sunny setting, if it was shot under street lamps or incandescent lights at home — Incandescent.
Another white balance adjustment option used by professionals in any area where perfect color accuracy is important is the gray card white balance adjustment.
HSL Tools
How do I adjust a single color in a photo? For example, make it more saturated or adjust the hue. With the HSL tools: select the desired color and change its adjustments. You can set all colors to zero saturation and make the photo black and white. If you leave some color untouched, you will get creative processing with selected objects of one color.
When it comes to trendy photo editing, it’s common to see blue and green colors saturated. It’s also useful to tone down the green in portraits to bring it closer to the blue. And yes, there is no need to be afraid to experiment here, you can always reset the settings. Photographers who use these tools work intuitively, focusing on the artistic idea and their taste.
In Conclusion
Color correction is an essential part of photo editing. So, you can use a variety of tools and techniques in Lightroom, Photoshop, or Photoshop Elements. Which is the best for this purpose? For example, in the case of Photoshop Elements vs. Lightroom, the second Adobe product allows you to organize your workflow more conveniently. However, other photo editors allow you to do perfect color correction. Be sure to try AI-based Luminar Neo.